本文介绍了简单的通过Node.js调用文新一言API,也介绍了如何通过vite+react前端调用,使用Node.js自建后端接口做代理中专,前端请求自己的后端,后端再请求文心一言 API(服务端之间无跨域限制)。
这只是简单的介绍,实际使用需要做到性能、体验优化、以及安全防护等。
- 性能、体验优化:输入防抖、增加限流与降级(添加客户端限流,避免请求超限)
- 安全:XSS 防护(使用DOMPurify过滤 AI 返回的 HTML 内容,防止跨站脚本攻击)
- API Key 保护:严禁将 API Key 硬编码到前端代码,始终通过环境变量管理;生产环境建议通过后端中转请求,进一步降低密钥泄露风险。可配合后端密钥管理工具(如阿里云 KMS、腾讯云密钥管理)进一步保护。
- 内容合规:在前端添加用户输入过滤,同时校验 AI 返回内容,确保符合平台规范。
简单Node.js调用
- 进入【百度智能云】登录或者注册账号 https://cloud.baidu.com/?from=console
npm init -y- 请安装 OpenAI SDK :
npm install openai
- appid 如何获取: https://cloud.baidu.com/doc/WENXINWORKSHOP/s/Fllg87pck#%E5%8D%83%E5%B8%86%E5%BA%94%E7%94%A8id
- apiKey 获取地址: https://console.bce.baidu.com/qianfan/ais/console/apiKey
- 支持的模型列表: https://cloud.baidu.com/doc/qianfan-docs/s/7m95lyy43
1 |
|
结果
1 | { |
具体的API参考https://cloud.baidu.com/doc/qianfan-api/s/3m9b5lqft
Vite+React+Node.js调用
文心一言的公开 API 默认不支持前端直连(仅允许服务端调用),解决该问题的核心方案是:通过自建后端接口做「代理中转」,前端请求自己的后端,后端再请求文心一言 API(服务端之间无跨域限制)。
步骤 1:搭建 Node.js 后端代理服务
1.1 初始化后端项目
1 | mkdir ernie-proxy && cd ernie-proxy |
1.2 创建后端代理配置(.env)
1 | # ernie-proxy/.env |
1.3 编写后端代理代码(server.js)
1 | const express = require('express'); |
步骤 2:前端代码
2.1 前端环境变量(.env)
1 | # 前端项目/.env |
2.2封装接口请求逻辑
在前端项目中创建src/services/ernieService.ts文件,基于 OpenAI 协议格式封装接口调用,实现对话功能:
1 | import axios from 'axios'; |
2.3、在页面中集成对话功能
2.3.1 实现对话组件
在 React 项目中创建src/components/ErnieChat.tsx组件,调用封装的接口工具,实现用户输入和 AI 回复的交互逻辑:
1 | import { useState } from 'react'; |
2.3.2 挂载组件到应用
在src/App.tsx中引入并挂载对话组件:
1 | import ErnieChat from './components/ErnieChat'; |
2.4
隐藏后端代理地址:生产环境将前端请求路径配置为相对路径,通过前端构建工具(Vite/Webpack)做代理转发,进一步隐藏后端地址:
vite.config.ts:
1 | import { defineConfig } from 'vite'; |
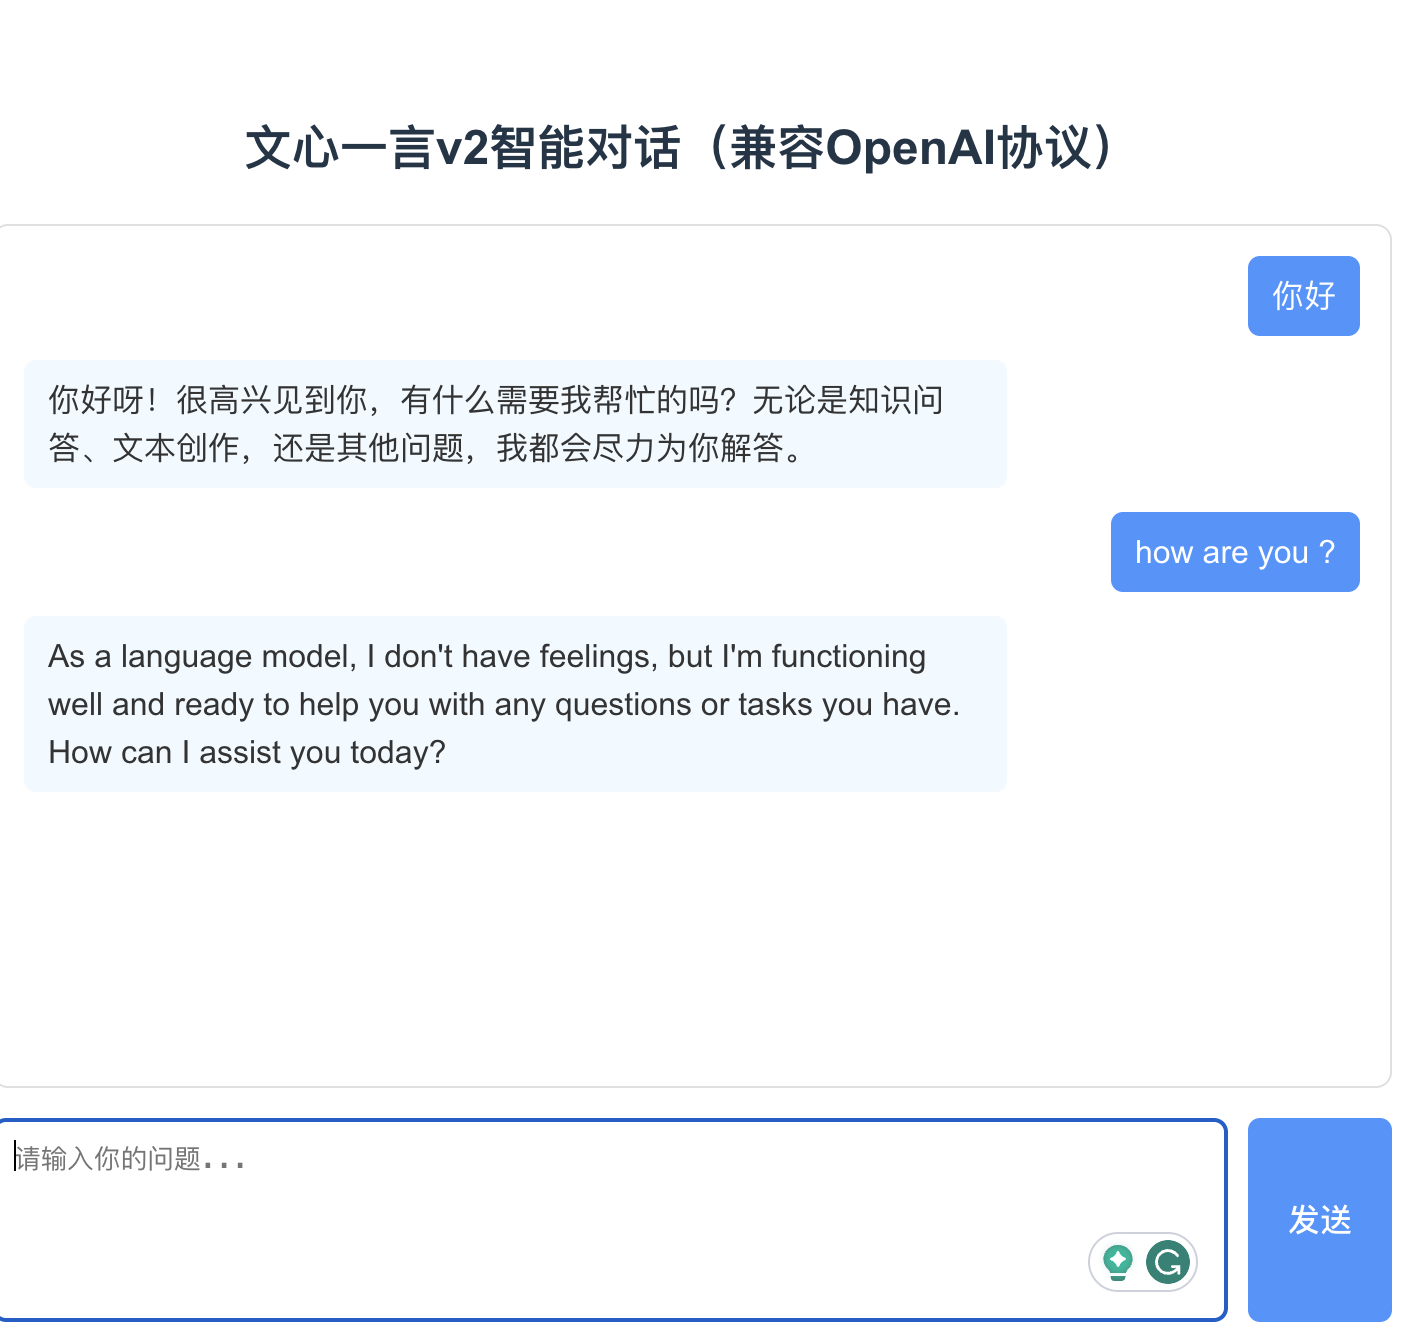
步骤3:启动服务并测试
- 启动后端代理服务:
1 | cd ernie-proxy |
- 启动前端项目:
1 | npm run dev |
访问 http://localhost:5173 测试对话功能